
For many people exploring alternative paths to parenthood, learning how to inseminate at home is a vital step in starting or expanding a family. Home insemination offers an affordable, private, and low-intervention option that can be empowering for single individuals, LGBTQ+ couples, or those with fertility challenges. While it may not replace clinical procedures in every case, it is a medically viable choice when done with preparation and care.
Understanding how to inseminate at home involves learning both the medical basics of conception and the specific tools and timing involved in the process. Here is a step-by-step guide designed to help you approach home insemination safely and effectively.
Step 1: Choose a Donor and Source the Sperm
The initial step is selecting a sperm donor, which must be done before you can learn how to inseminate at home. This can be a person you know (known donor) or anonymous or open-ID donor from a licensed sperm bank. By using a sperm bank with a good reputation, you can be sure that the sperm has been checked for infectious diseases and genetic conditions, which is the top level of safety.
If a known donor is used, both parties must undergo tested STI and might consider drafting a parental rights agreement . Moving on to the next topic, the foundation of safe insemination is working with a reliable and healthy sperm source.
Step 2: Ovulation Tracking
One vital aspect of the topic is timing. You must track ovulation since it helps you know your menstrual cycle and determine your fertile days accordingly. Ovulation usually occurs about 14 days before your next menstrual period begins. The fertile window is the five days leading up to ovulation and the day of ovulation itself.
The most popular methods to track ovulation are using ovulation predictor kits (OPKs), charting basal body temperature (BBT), observing the cervical mucus, and using digital fertility monitors. The objective is to inseminate within 24 to 48 hours of detecting a surge in luteinizing hormone (LH), which signals impending ovulation.
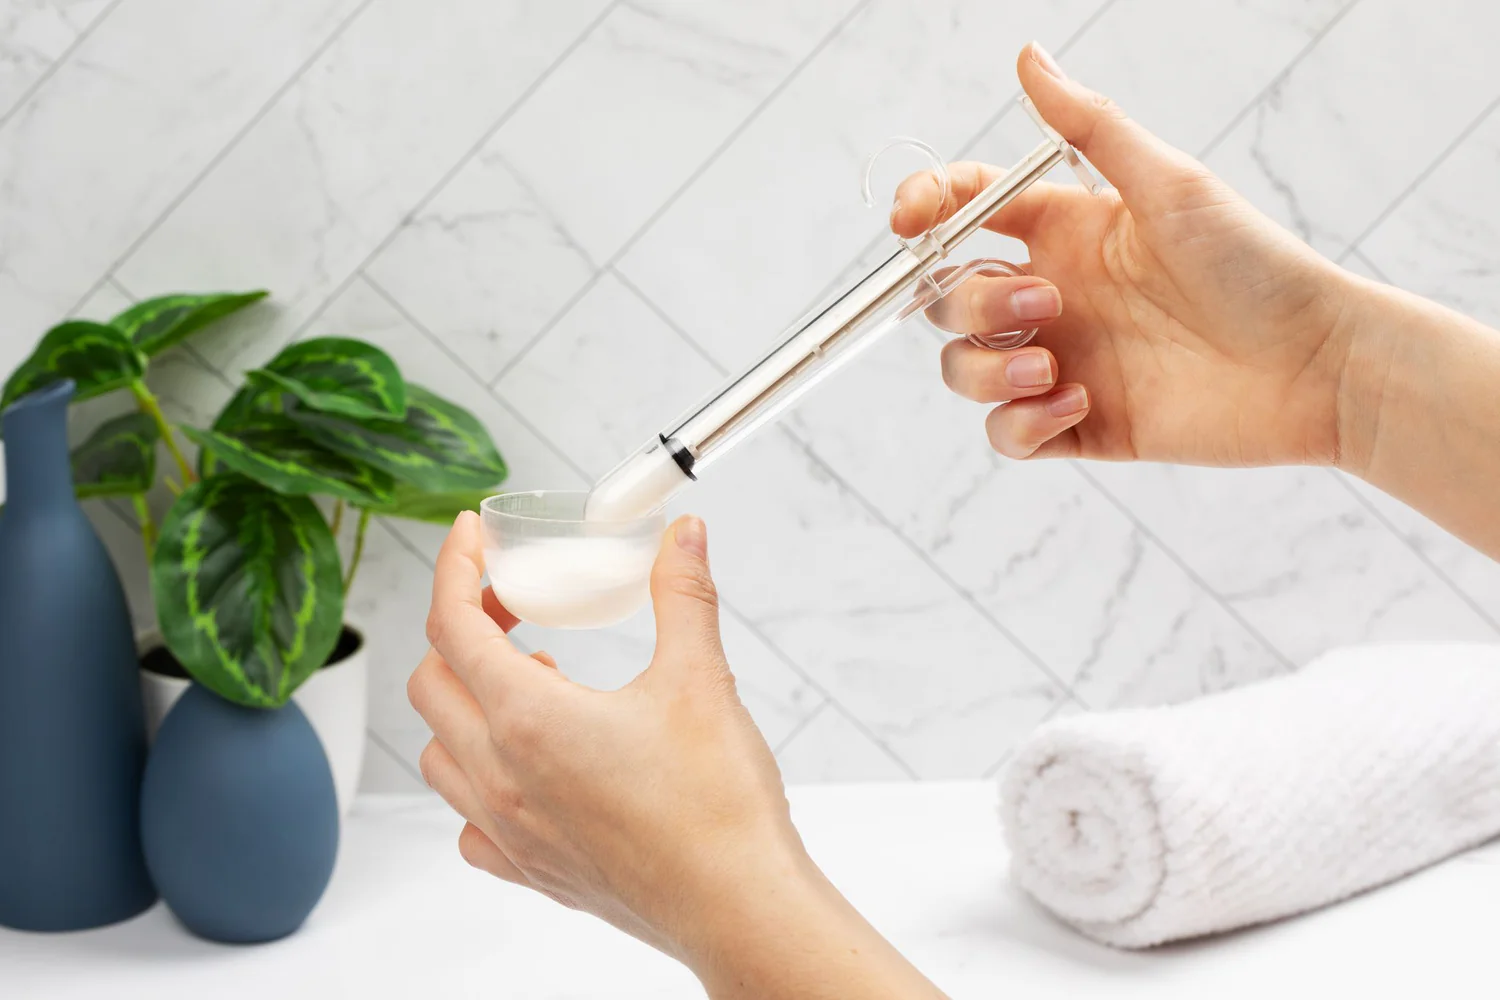
Step 3: Collect the Insemination Supplies
After knowing when you are going to ovulate, the next step in learning how to inseminate at home is gathering the necessary supplies. Prepare a sterile syringe (without a needle), a clean specimen container (if collecting from a donor), medical gloves, and possibly a soft menstrual cup. In the case of using frozen donor sperm, follow the sperm bank’s instructions thoroughly for thawing the sample. Insemination can only be carried out when the sperm is at room temperature slowly and gently. Sterility is the main concern, so ensure that you wash your hands thoroughly and use only sterile instruments to avoid any infections. Ready everything and make sure everything is laid out before you proceed.
Step 4: Perform the Insemination
Now is the time for the central step in how to inseminate at home. You need to lie down comfortably while putting a pillow under your hips to elevate them. Pull the sperm into the syringe and put it into the vaginal canal gently, preferably, near the cervix without any trouble. Release the sperm gently and then, promptly remove the syringe. Stay lying down for 15 to 30 minutes to enable the sperm to pass through the cervix freely. Using a menstrual cup after insemination to keep the sperm in place however this is optional, as some people do it.
Step 5: Aftercare and Observing
Post insemination, continue with your usual activities and keep an eye for the signs of pregnancy over the next weeks. Mild cramps or spotting can be experienced which is all normal. After two weeks of insemination, you should take the pregnancy test to see if you are pregnant.
Talking about how to inseminate at home, it also means to know the right time to seek medical help. In the case you haven’t succeeded for some cycles, or if you have irregular periods or known fertility issues, it’s best to talk to a fertility expert. He/she can give you clear advice on clinical intervention methods that might help your odds of getting pregnant.
Safety Tips & Medical Guidance
When you are a beginner in learning insemination at home, it is of utmost importance to be aware of the medical aspects of the process. Do not use expired or non-sterile supplies and avoid attempting insemination during the presence of an infection or illness. Consult your physician before initiating the process, especially if you are uncertain about your fertility health.
Working with a licensed sperm bank or getting a known donor medically screened adds an extra layer of protection. Taking these precautions helps ensure that how to inseminate at home becomes a safe and thoughtful process.
Conclusion
Learning to inseminate at home is more than just following the directions – it’s about being informed, safe, and conscientiously making your decisions on your fertility path. By choosing a screened donor, tracking ovulation accurately, using sterile supplies, and understanding the timing and technique, home insemination can be a meaningful and effective path to parenthood. With the right information and preparation, many people find success and empowerment through this deeply personal process.